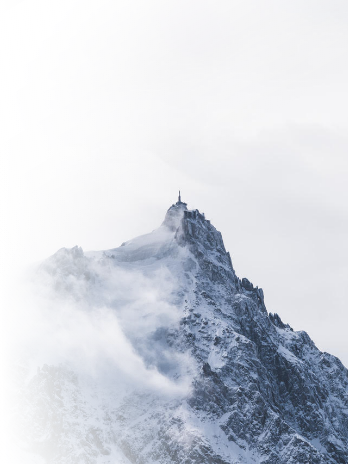
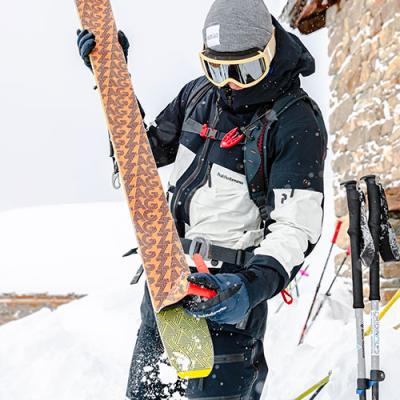


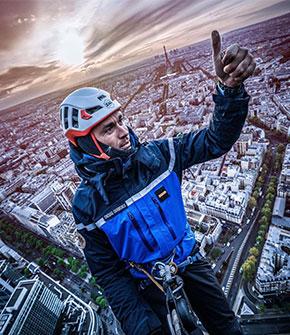
Tutorial: How to evolve in ski touring (Intermediate/ Advanced level)
You’re a skier used to ski touring, if you like to ride the little gems that are not yet coveted, this blog is for you!
Practicing, we’ve noticed that many skiers are embarking on trip without being well aware on different aspects such as safety. We are therefore going to give you a little catch up, the ZAG version, to ensure you some successful touring trip in safety!
We are going to sum up together everything that a touring and freeride skier need to know to evolve serenely on his playground.
For some of theme it will be reviews of what you already know and for some others to it will permit to keep learning in order to have great theoretical bases! For this mission we will be accompanied by a regular of the place, our guide Pierre Masbou!
Pierre Masbou
My name is Pierre Masbou, I’m an aspiring guide and a ski instructor. I currently work as a rescue gendarme – instructor at the national ski and mountaineering center of the gendarmerie (CNISAG, mountain rescue training center). I’ve started mountaineering and touring in my native mountains: the Pyrenees.
Here’s a famous quote that stayed in me since the beginnings “The mountaineer is a man who leads his body to where his eyes once looked...”
No need to remind you that a ski trip needs to be well prepared, so if you need a little update on this, I advise you to take a look to our tutorial: How to start ski touring.
Inutile de vous rappeler qu’une sortie ça se prépare, si vous avez besoin d’une petite update là-dessus je vous conseille de vous reporter à notre tuto comment débuter en ski de rando.
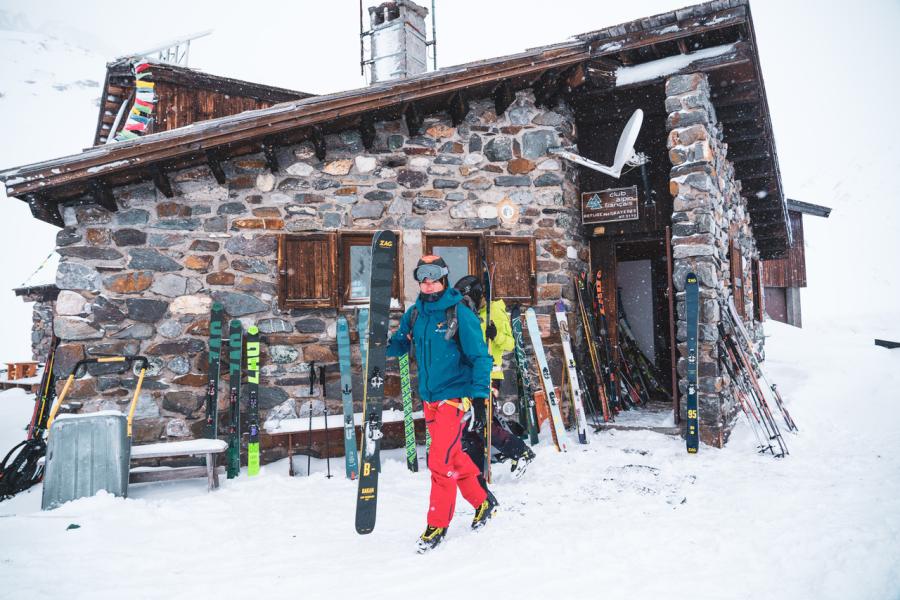
Which material to choose for ski touring ?
Looking to be as light as possible, the difference is often made with the materials you carry (or not). A though choice when you do not exactly know know what sauce you will be eaten with!
Therefore, preparing the materials that you’ll be carrying during the trip is an essential step! If you don't take enough, you run the risk of getting stuck in the middle of a tricky passage and, conversely, taking too much will tire you out unnecessarily.
In general, for a day trip, the backpack should be between 20 and 30 litres. This type of bedding allows you to put enough layers depending on the weather, to take your crampons or ice axe with you if needed, to load the necessary food...
Pierro’s words
“The consideration of human factors and the terrain are primordial for the smooth running of the trip, if you don’t feel it, do not hesitate to say it. Communication is an element not to be neglected in a group during your trip. Often, accidents happen when the weakest don’t want to say that they are not at their best or when they don’t feel it and in the contrary someone over motivated can lead you to critical situations without taking the time to analyze the terrain and environment.”
“The double check is realized to see if all transceivers are working. It’s possible that the frequencies of some AVD are not anymore compatible with the other devices.
In General, I put my transceiver in a safe pocket of my pants (with a leash inside) and my phone in the opposite pocket in my jacket or even at the top of my backpack. Careful, it is not only electronic devices that can interfere the waves, compote packaging and cereal bars can also default your transceiver! “
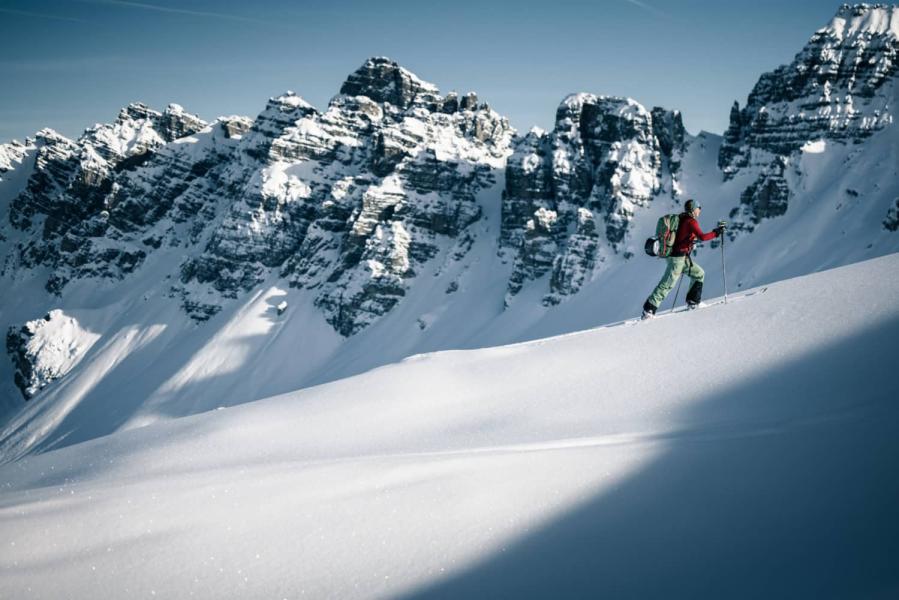
How to start your ski touring trip ?
Starting-block
Now let's get to the heart of the matter, you arrive at the car park, ready to put on your skis and attack the steep slopes. But not so fast! Nothing beats a good personal weather forecast. Indeed, it is important not to neglect the team's state of mind. Knowing the motivations of each person will allow us to adapt the outing to suit the greatest number. We are never safe from someone who is less fit, someone who wants to eat a lot of D+ in a minimum of time and it is therefore important to know this to avoid any frustration in the team.
Once the weather forecast is done, an analysis from the car park of the sky, the snow, the possible avalanches etc. will allow you to have an idea of the environment in which you will evolve. You start the outing but again, not so fast! Two people will be needed for the avalanche test. One by one, you will pass in front of your colleague, starting with the "Search" mode (one metre away from him) and then passing in front of the second with the "Ski" mode.
Once everyone has been checked, you can leave for your outing with peace of mind (if no faulty signs have been detected, of course).
AVD check ok! but beware of interferences!
If you want your AVD to work properly, it’s essential to eliminate as much interference as possible. Interferences can be triggered by any electronic device (even turned off or on airplane mode for smartphones). The closer to the AVD, the more it interferes with the frequencies of the device. You need to keep your electronic device/metallics at a minimum of 50 cm from the AVD or better still turn them off.
Now, time to go, “the starting gun has been fired» we distinguish quickly those who are in good shape and those just walking around and chatting. No need to remind you that when you do some sport, most of the time you sweat and feel hot. So, having a good management of your clothing layers is primary. After a quarter of an hour of effort, do not hesitate to have a break, reuniting the group and ask how everyone’s feeling. If you need you can take a layer off if you’re too hot and you can create some small groups and take up the slack.
Pierro's words
“The consideration of human factors and the terrain are primordial for the smooth running of the trip, if you don’t feel it, do not hesitate to say it. Communication is an element not to be neglected either in a group during your session. Often, accidents happen when the weakest don’t want to say that they are not at their best or when they don’t feel it and on the contrary someone over motivated can lead you into critical situations without taking the time to analyze the terrain and environment.”
“ALWAYS double check to see if all transceivers are working. It’s possible that the frequencies of some AVD are not anymore compatible with the other devices.
In General, I put my transceiver in a safe pocket of my pants (with a leash inside) and my phone in the opposite pocket in my jacket or even at the top of my backpack. Careful, it is not only electronic devices that can interfere with the frequencies, foil packaging around cereal bars can also default your transceiver! “
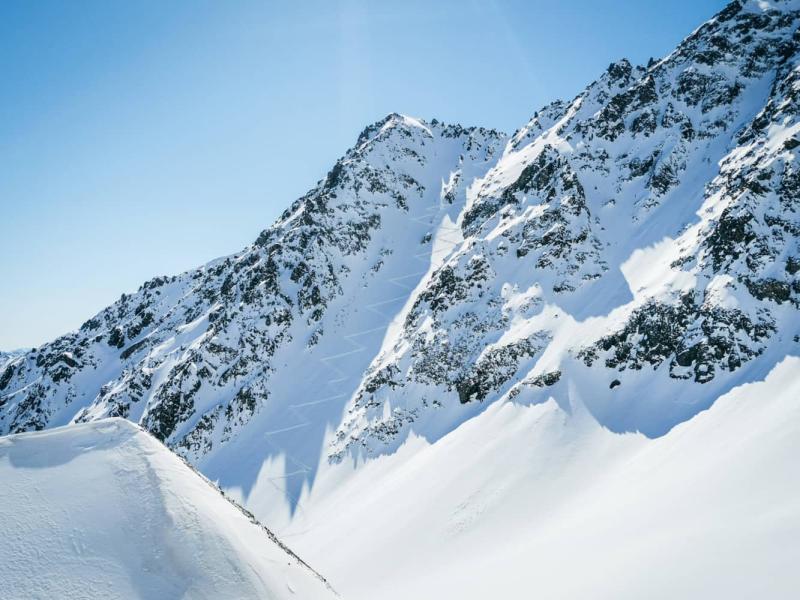
How to make a good terrain analysis ?
We move forward, we move forward, we know immediately where to go because we have prepared the exit well, however a doubt arises on a slope. Hooop we don't rush headlong, we take a decision.
The Munter 3X3, the swiss army knife for decision support. This simple method exists to help you make quick decisions.
It’s based on 3 factors, the human, the conditions and the terrain through 3 spatiotemporal levels: before, parking, terrain.
BEFORE: Consult the avalanche risk bulletin, get informed on the itinerary.
PARKING: Personal weather. Do a quick brief with the team, their state of mind, motivations and their expectations for the trip.
TERRAIN: Be able to constantly analyze the terrain and environment and be able to review your route if it turns out that the conditions were not as expected.
Pierro's Words
“The 3X3 Munter is one of the methods that I often use to analyze the risk when I go ski touring, alone or with my clients. It’s important to be able to ask yourself the right question at the right time!
But what remains the most difficult to analyze and interpret is nivology! If you want to improve your skills and test your knowledge, do not hesitate to ask some tips to a mountain professional.”
About this, a break, let’s have a small nivology point !
In winter and especially in ski touring, the number one enemy is the avalanche.
An avalanche, in itself , what is it ? It is the overlapping of two layers of snow that we will call "plate" that do not have the same density. An avalanche is triggered when the lower layer (slab) has a lower density than the upper layer (slab).
The passage of a skier is enough to trigger a slab over several tens of metres of several thousand cubic metres.
To see the snowpack locally and how the layers are, simply invert your stick and stick it into the snow. You will quickly feel different densities as you push.
On this subject, a pause, a small nivo point!
In winter, and especially in ski touring, the number one enemy of skiers is the avalanche.
What is an avalanche in itself? It is the overlapping of two layers of snow that we will call "plate" which do not have the same density. An avalanche is triggered when the lower layer (plate) has a lower density than the upper layer (plate).
The passage of a skier is enough to trigger a slab over several tens of metres of several thousand cubic metres.
To see the snowpack locally and what the layers are like, simply invert your stick and stick it into the snow. You will quickly feel different densities as you push.
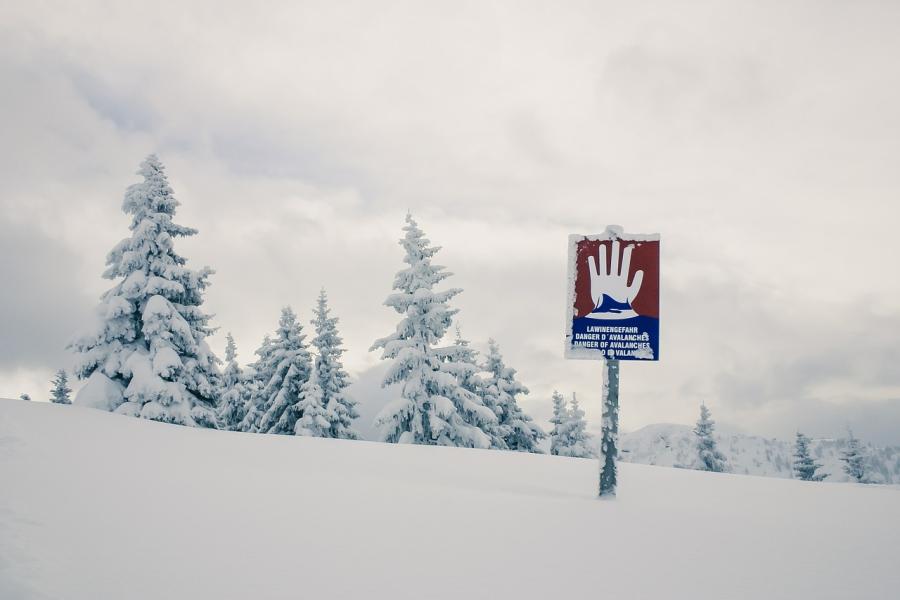
Avalanche risk ? Be vigilant !
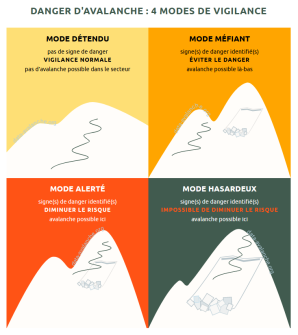
The 4 vigilance modes
The 4 vigilance modes:
Relaxed mode: You’re evolving in a sector where the slopes are less than 30 degrees, no visible signs and you are out of reach of any avalanche start.
Suspicious mode: You are aware the you are potentially evolving in a risky zone but depending on your line you’re able to bypass the danger. The objectif is to locate the dangerous section to adapt you itinerary and therefore avoid the danger.
Alerted mode: You enter an area where there is a risk of avalanche either because you have no other choice cause of the itinerary or because it’s your choice. Here you want to identify the safety spot, extend distances between each skier (less people engaged if an avalanche starts).
Random mode: You’re evolving in a zone where you can’t minimize the risk, in the worst case the outcome is fatale. Only engage knowledgeable and aware people.
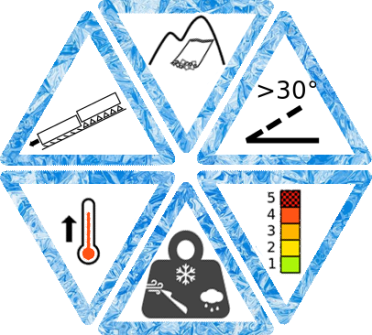
DUCLOS’S PICTOGRAMMS
Another useful tool to help you with snow analysis and progress is the Duclos pictograms. There are 6 of them and they allow you to have an overall view of your progress.
Recents Avalanches: Information on recent avalanches can be obtained through the media (data-avalanche.org).
Slopes: From the IGN website or Skitrack, it is easy to show slopes over 30°
Risk index : From the ARB publish on the Météo France website from December 15 to April 15.
Overload: Fresh snow depth, wind accumulation, recent or not.
Thaw: The rise in temperature and any associated melting are easily noticeable.
Fragile layers: Buried layers and their effect on the stability of the snowpack; good monitoring of local weather and snow conditions can provide information on the presence of these layers.
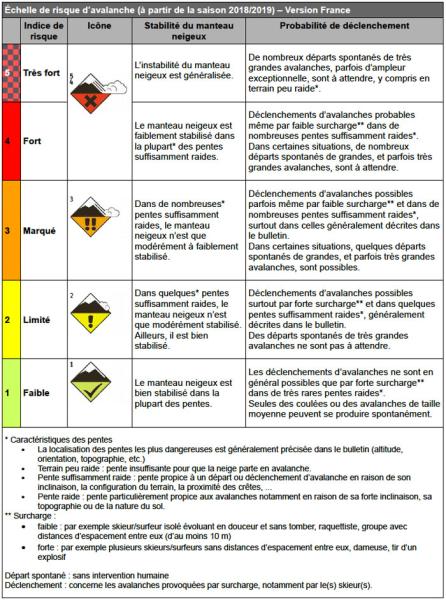
To refer to the BERA avalanche risk scale, here is a small summary of the signs you may encounter.
Pierro’s Words
“The ARB is an element that is taken into account, like the weather, in the preparation of the tour but also on the ground. The pictograms and the 4 vigilance modes are decision aids in the field that fill in the decision boxes in the 3X3 method.
The risk 0 do not exist. Snow is a complex element, the more you think you know, the less you know! The only advice I can give you is to take some safety distances when you can to avoid exposing the entire group.”
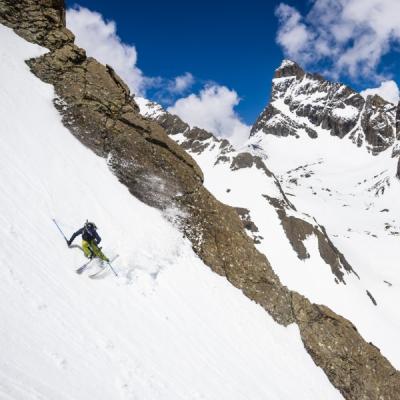
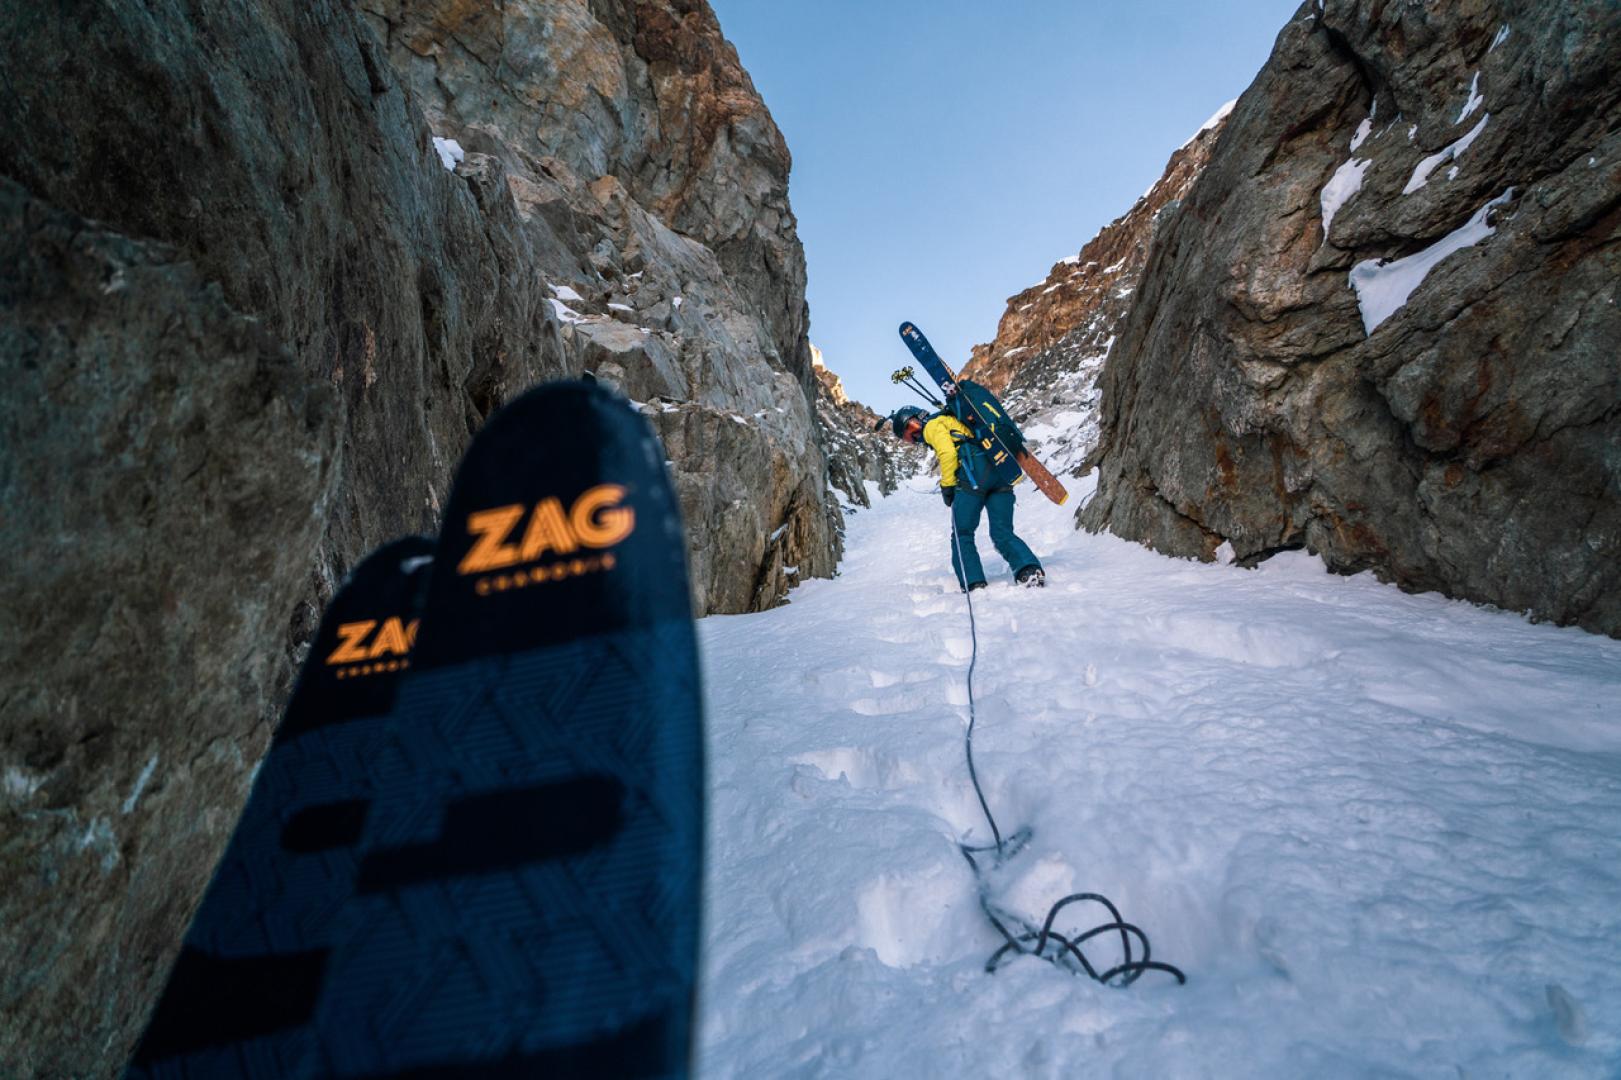
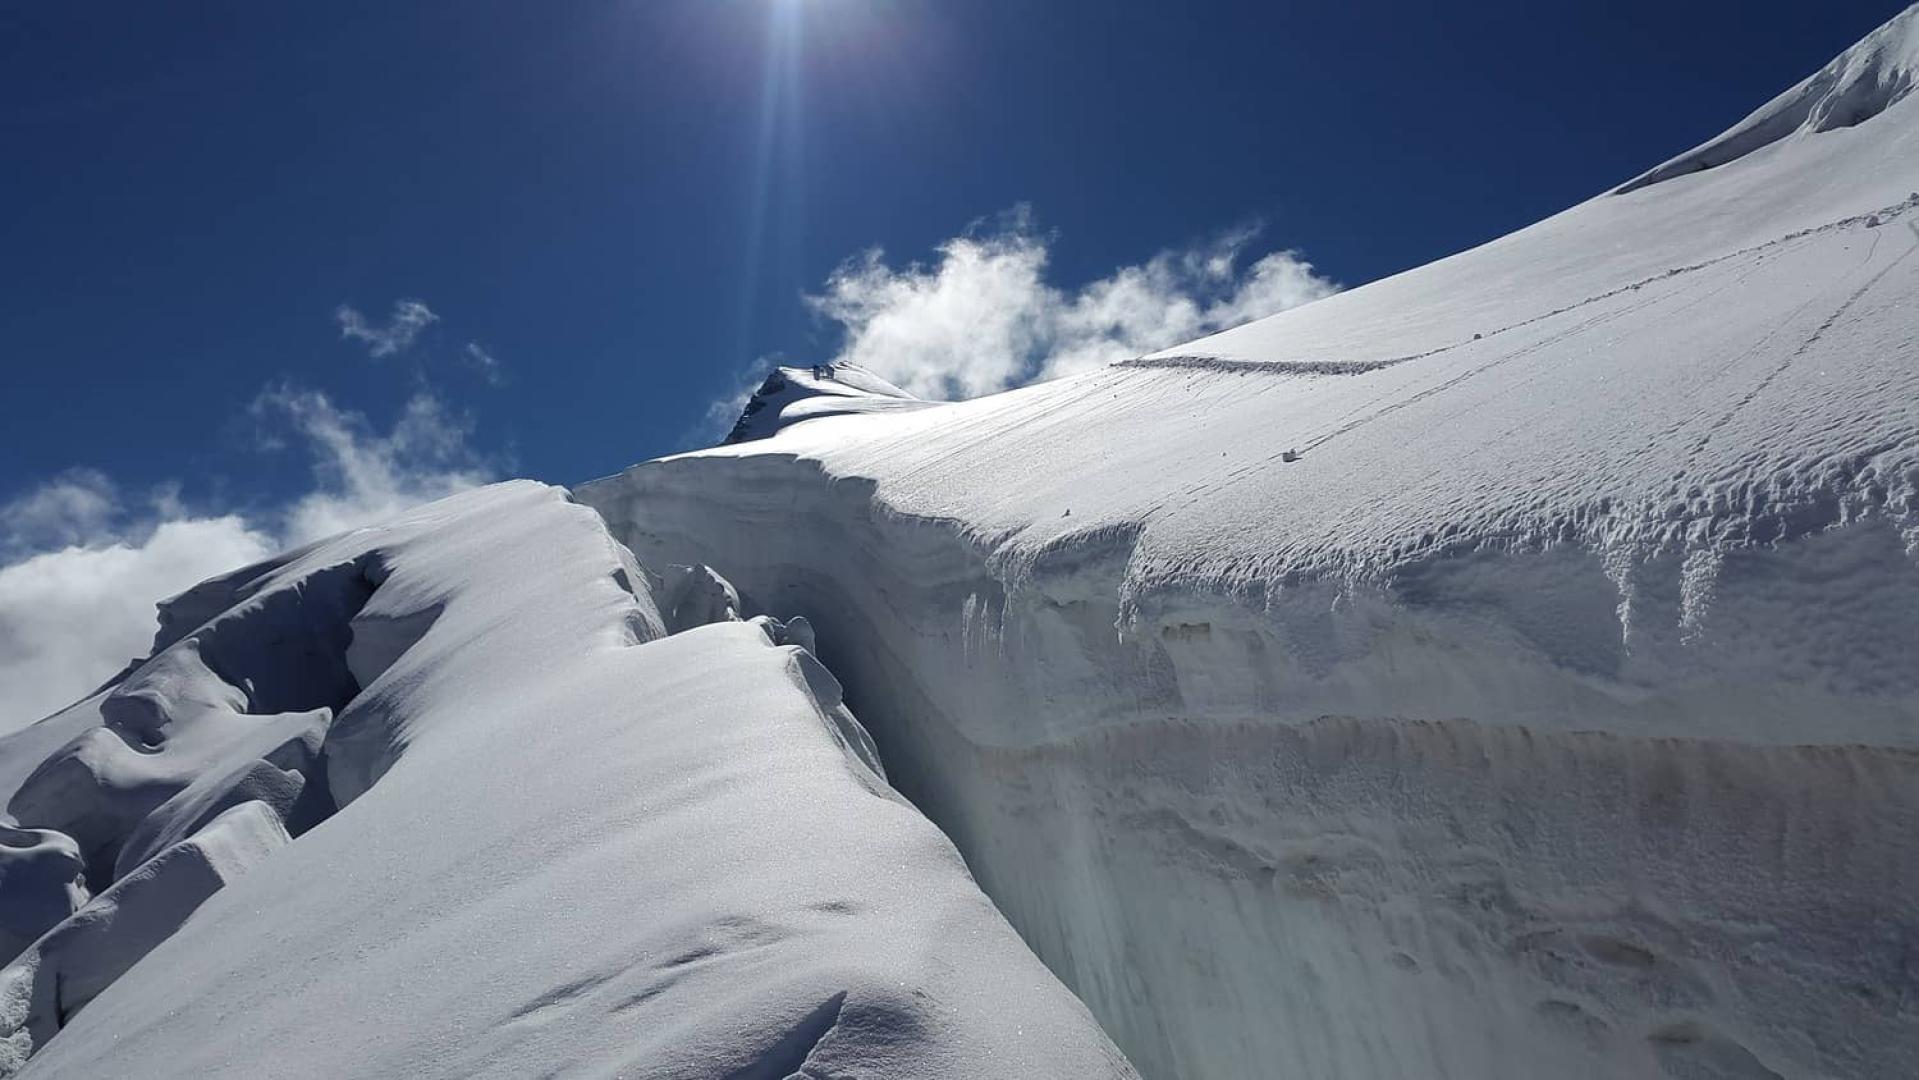
How to evolve on risky field ?
It goes without saying that when you progress, you quickly get fed up with outings with slopes of less than 30° all marked out where you meet half the CAF of the next town.
You want to renew yourself, to push the limits a little and to see what exists between two summits, to explore some couloirs, to make ridge runs, to progress on glaciers...
However, this cannot be done without preparation! Here is a small checklist of useful things to know before you start!
Useful nodes
- The basic rope tie-in knot is the figure 8 knot, which is used to tie in the end of the rope and also to connect the two abseiling strands.
- The “cabestan” is an adjustable knot used to secure oneself
- The “half-cabestan” is a belay knot that is used to reel in a person or to abseil short distances.
How to properly use you ice axe/what type of ice axe to choose?
The axe is useful for technical trip in high mountain and on glaciers. It can be used as a walking help and as a safety tool on steep lines on icy snow. In general, it is associated to a pair of crampons for more safety. We recommend to choose a light axe type of PETZL Gully and some hybrid crampons, as the PETZL Irvis hybrid.
Obviously, choose the material according to your level and your practice. Having equipment that is too powerful can be detrimental if you don't know how to use it well. Light does not mean practical/ easy to use.
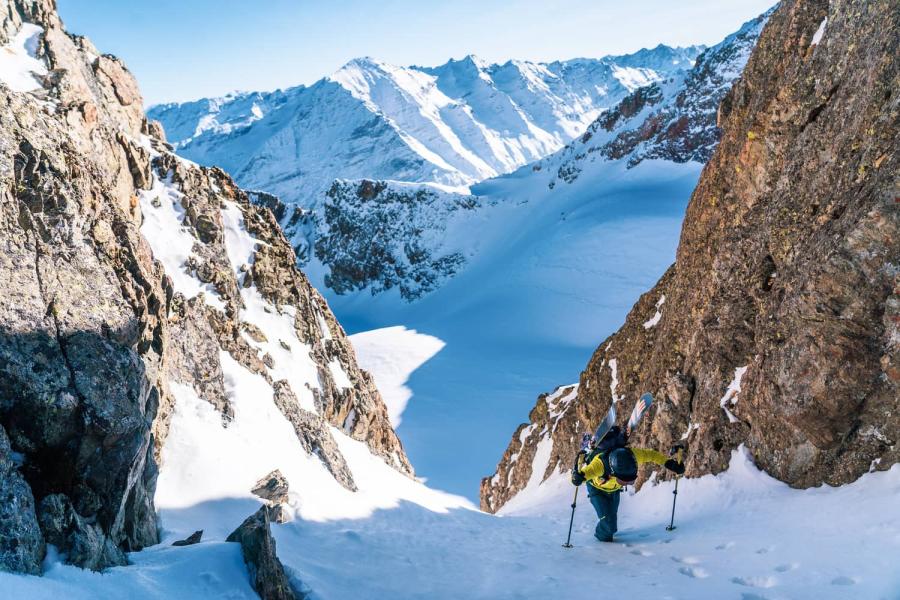
How to rope on a ridge or glacier?
the minimum roping length on a glacier is 15 meters between each person. A rope reserve needs to be kept by the leader and the last in order to initiate a rescue in case of a fall in a crevasse. The rope is put in place as soon as a traverse on a crevassed glacier is done. However don't forget to take the individual equipment for progression and rescue in crevasses (lanyard, ice pins, 120cm straps, traction pulley, mechanical self-locking device and a small 8m rope). For the rope, a half strand of abseiling is sufficient for progression on a glacier.
There is no predefined roping length for ridges. he most important thing to remember when climbing a tight rope is to place at least two safety points (quickdraws on gougeons or spits, straps on a cleat, friends, a stopper) between the leader and the second. The ropes used for ridge running are either one or two strands of doubled abseiling or a single rope.
How to secure your ski run?
When skiing down slopes of more than 30° and where the snow cover is estimated to be in the suspicious mode (4 vigilance modes) I make people go one by one. I make them stop at a place where the risk is reduced. When skiing on a steep slope, I keep the same pattern.
On the glacier, you must be vigilant. Leave some space between you. The last skier should be able to lie down at any time to hold back the skier in front of him who could fall into a crevasse.
How to rescue someone in an avalanche ?
When someone get caught in an avalanche, time is running out. The vital prognosis decreases very quickly (usually a quarter of an hour is enough). Therefore, it’s mandatory to know the right things to do to save the person and eliminate any parasite gestures.
1.Choose a leader
2.Alert emergency services
3.organize the search
4.Secure the site
5.Do the research
Every member of the group must be able to perform an avalanche search with their avalanche transceiver! There are several times a year exercise session with the CAF for this.
We strongly advise you to consult this video. Very intuitive, you’ll understand the issues and the rights gestures to adopt.
Pierro’s words
“La chamoniarde’s” video is very well made.
Training to search with your avalanche transceivers must be done regularly throughout the winter season in order to know your device and be effective on the D day.
Regarding the organization during an avalanche, here is what I can tell you:
People who are completely buried must be removed as quickly as possible. The rescue services must be alerted, but the most urgent thing is to get the buried person or persons out.
In this situation, the leader will be revealed naturally. Careful to the unnecessary waste of time. Do the transceiver research. Look and try to locate some surface indications. Once you’ve found the victims, it’s time for the first aid gestures. Be aware that an avalanche victim can be polytraumatized.
Always be aware of the risk of over-avalanche. Most new avalanche transceivers will automatically switch to transmit if you get caught in an over-avalanche while searching (not all devices do this, so check when you buy one).
How to rescue someone in a crevasse ?
Key gestures
The ENSA’s video explain and show perfectly what you have to do when the victim is unharmed at the end of the rope. If your companion is hurt or unconscious, secure and call the emergency services and start a manipulation of the top reefs (single or double mariner)
Alert the rescue services
To alert the emergency zservices, use a radio or your cellphone (112)
How to improve your practice ?
As you know, year after year we see our playground deteriorating as a result of human action.
Acting on your own scale is being responsible. We have therefore tried to think, through the ZAGREEN program, about different methods to reduce our impact on an industrial scale, but skiers also have their part to play!
Experienced skiers are used to travelling. It is still rare to have good alternatives to the car to get to our remote areas. However, we can do it intelligently and organize carpooling with friends.
If you are in high mountains you will sometimes have to use anchors. Try as much as possible not to leave any trace of your passage by using temporary protections (rings, pins, friends...) rather than pitons!
This is not new, but those who love the mountains respect them. Waste is in the bag!
If you're interested in this topic, check out our blog